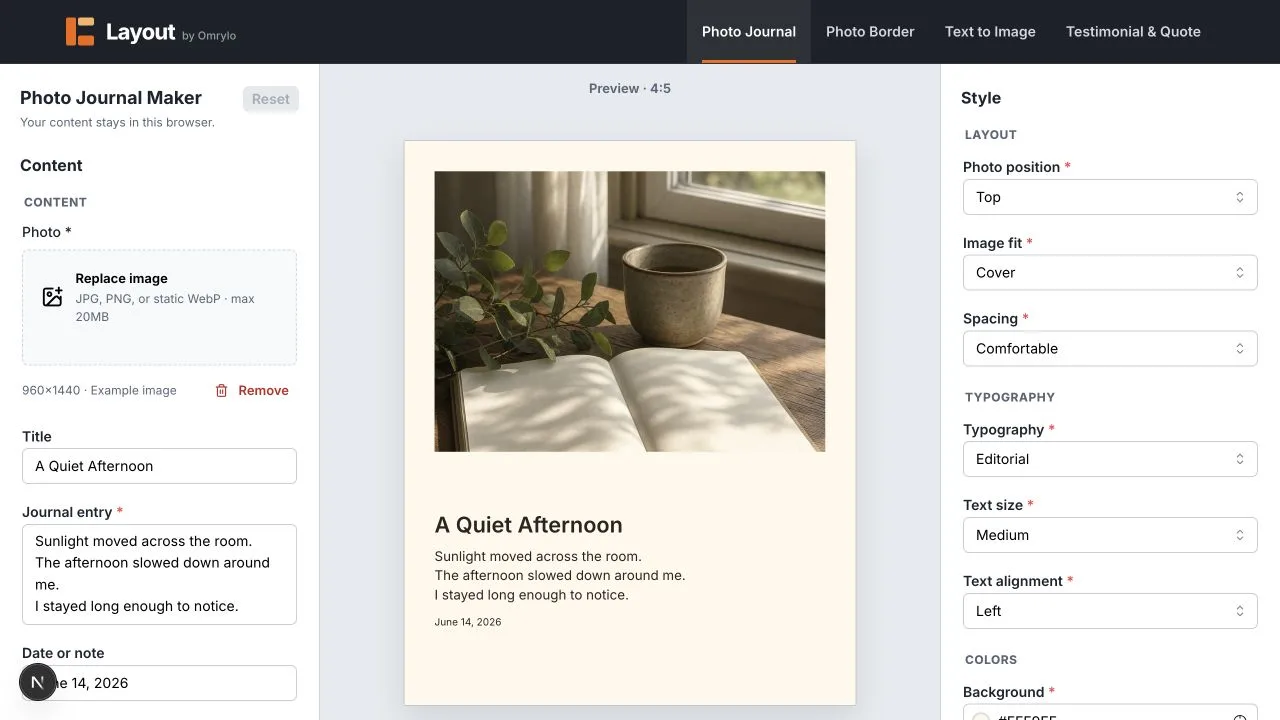
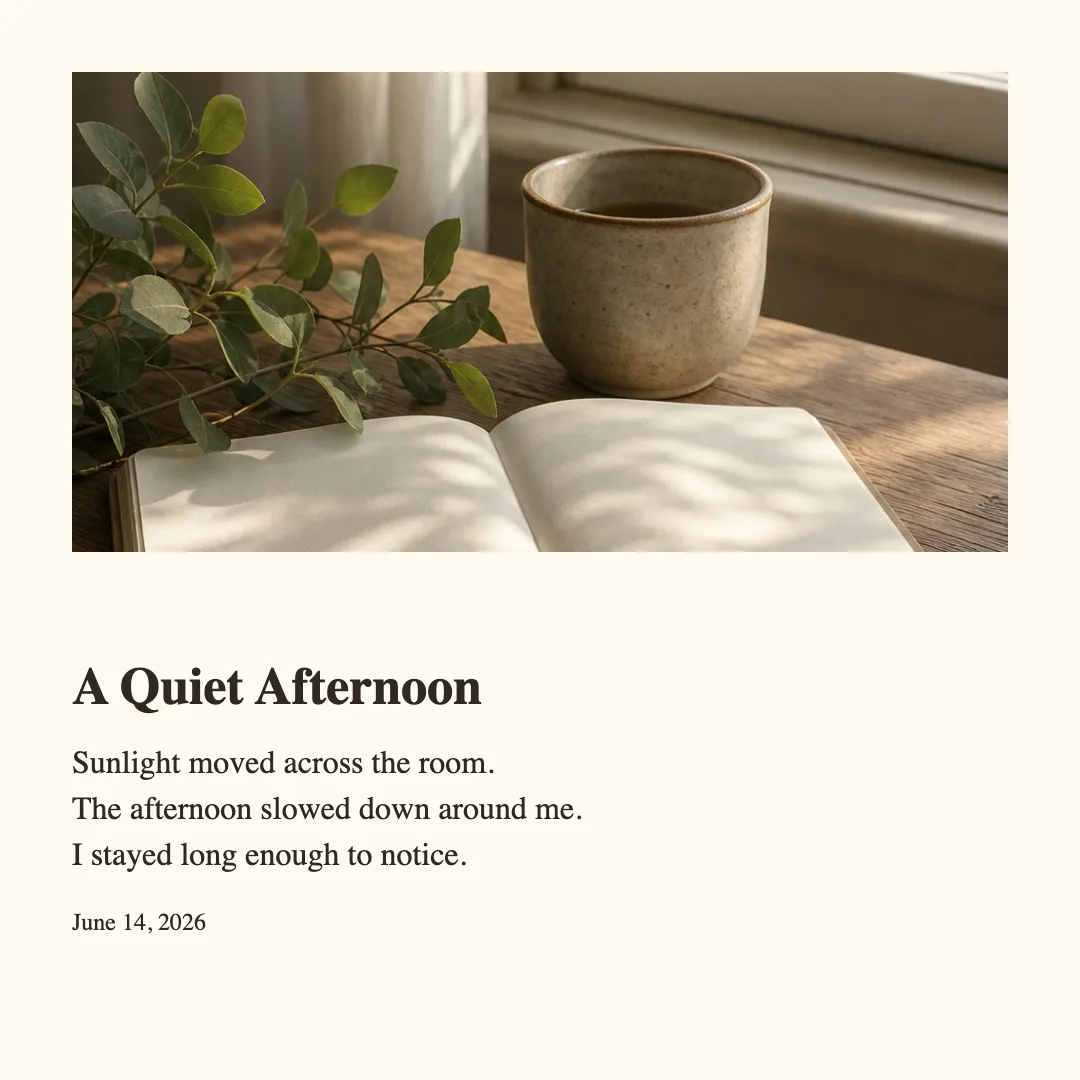
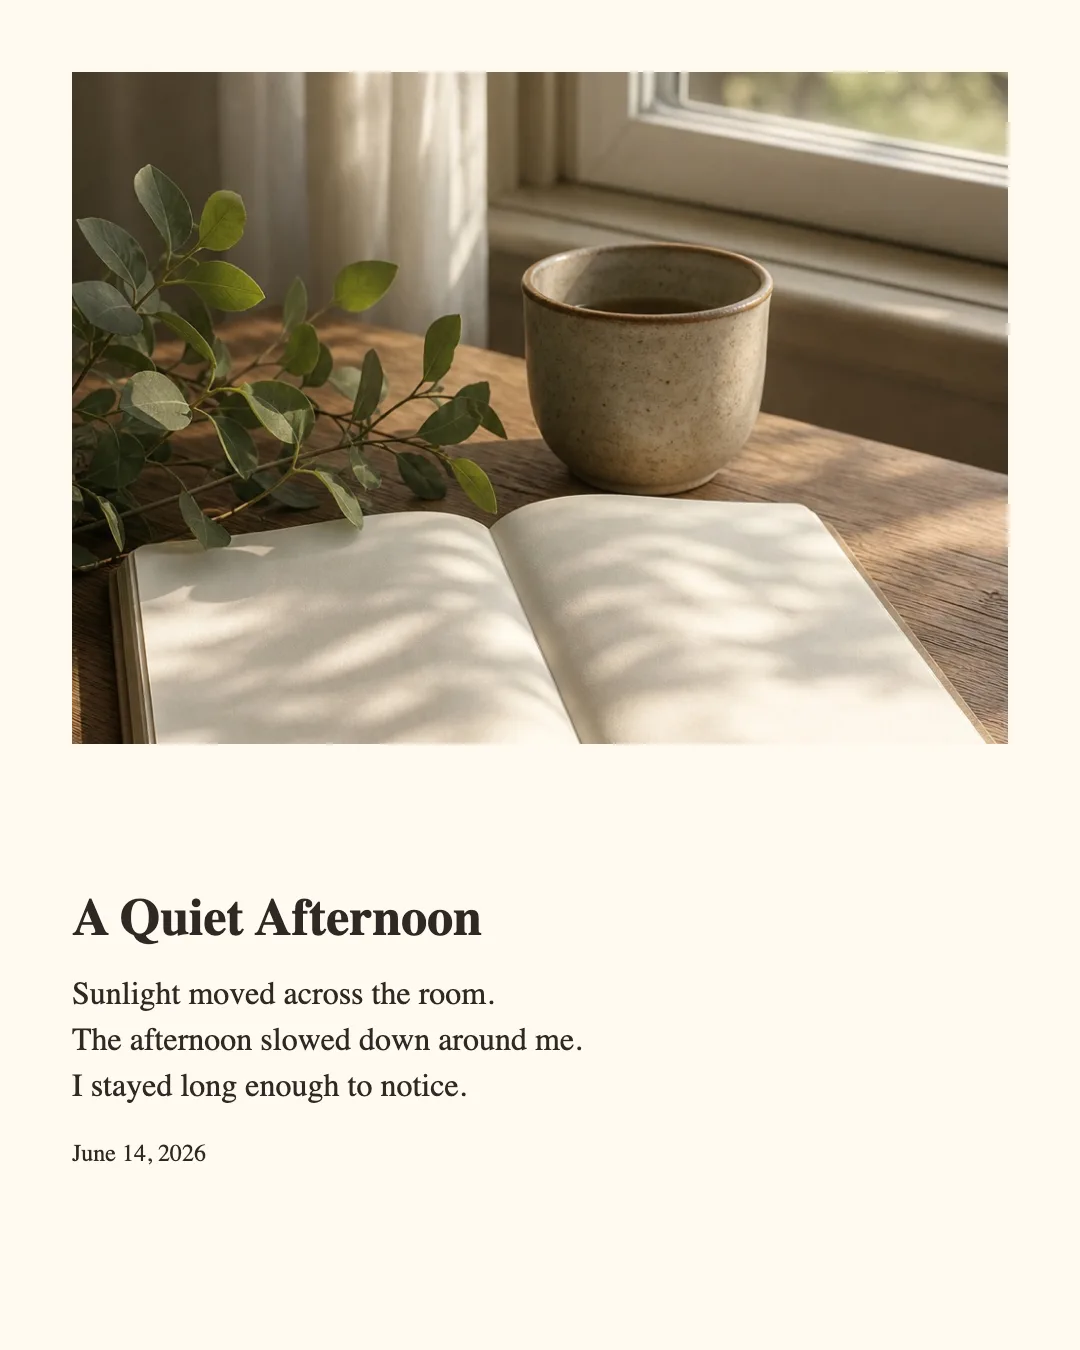
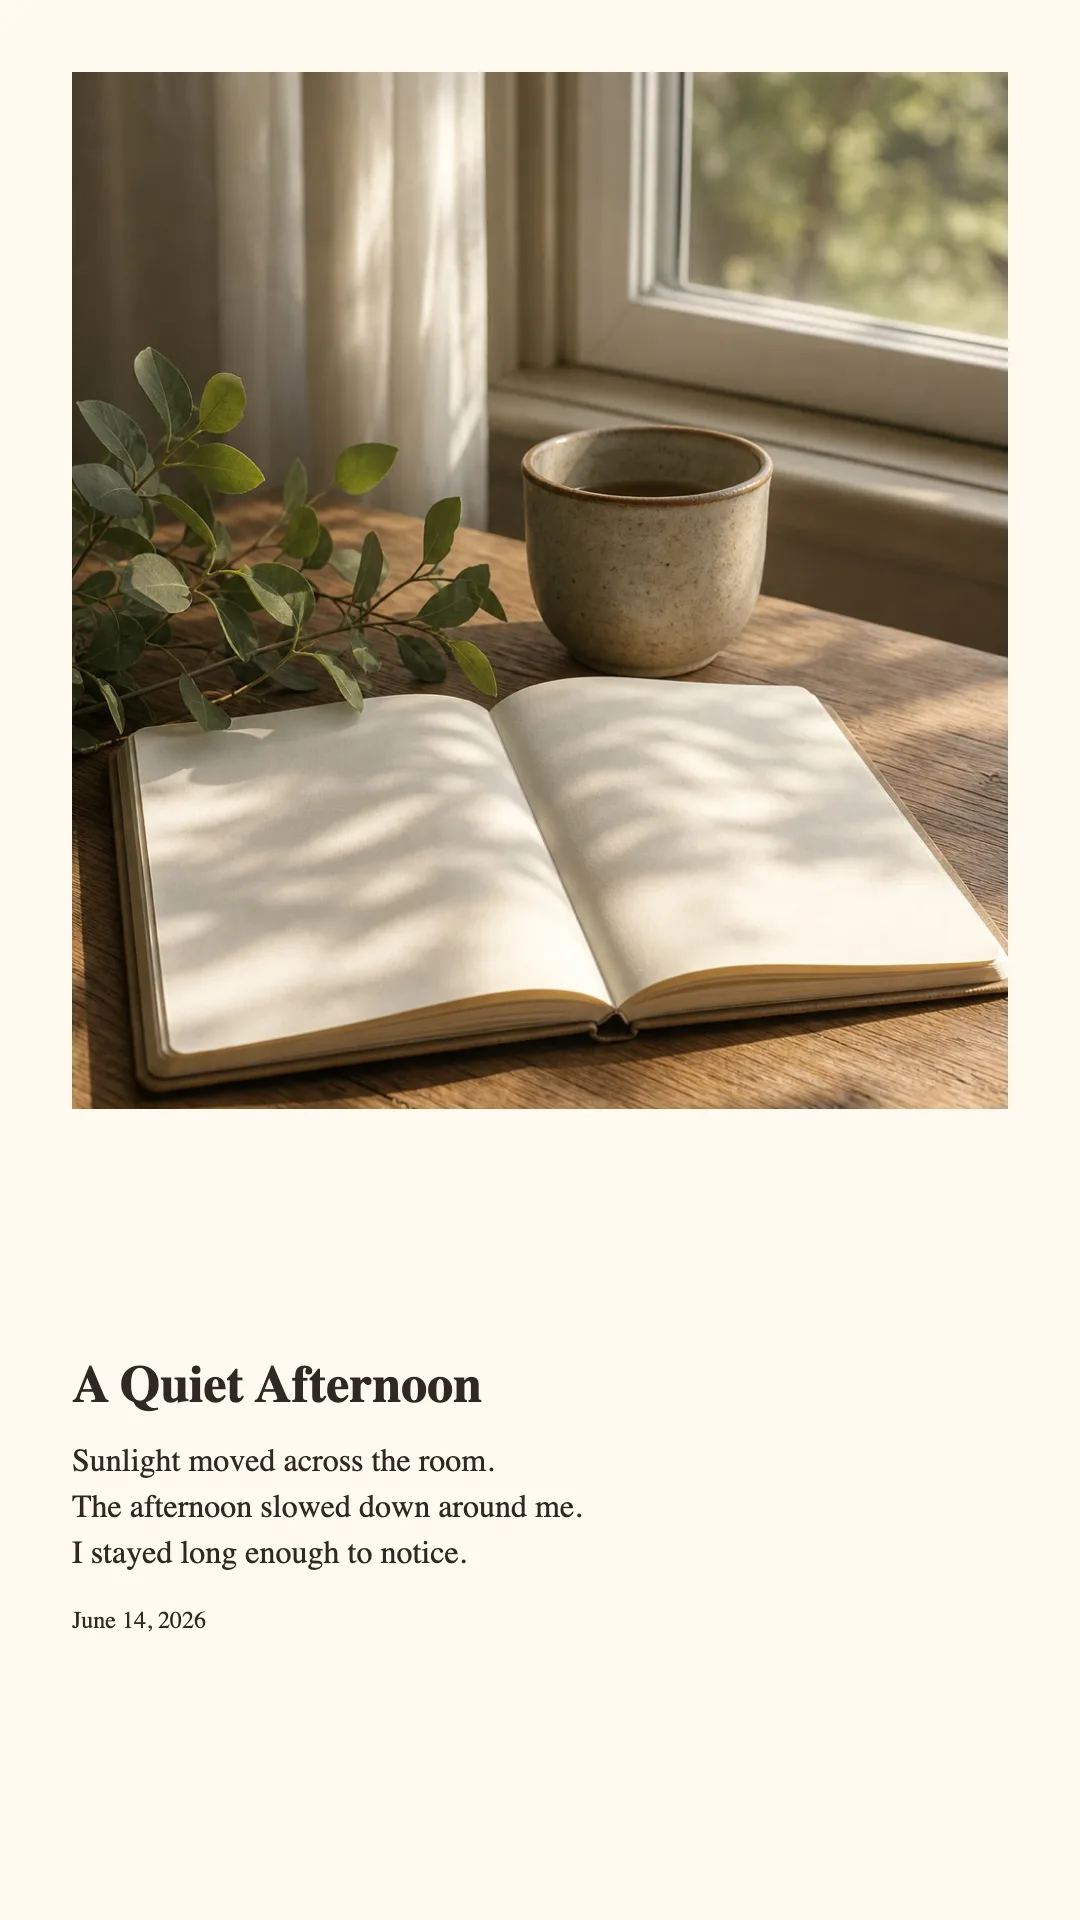
I used the included window photograph to test a small journal entry from first input to PNG export. The exact input was the title “A Quiet Afternoon”, the body “Sunlight moved across the room. The afternoon slowed down around me. I stayed long enough to notice.”, and the footer “June 14, 2026”.
1. Start with one photo and one memory
Open Photo Journal Maker and begin with the example. Replace the photo with a JPEG, PNG, or static WebP, then keep the writing deliberately short. The editor accepts a title up to 60 characters, a journal entry up to 500 characters, and a date or note up to 80 characters. Those limits are useful boundaries: the layout is for a moment, not a full article.
2. Compare the three export targets
The renderer uses a fixed width of 1080 pixels. Square is 1080×1080, portrait is 1080×1350, and story is 1080×1920. I exported all three with the same input rather than assuming that a square layout would simply crop well everywhere.
3. Check the parts that actually fail
- I switched between top and bottom photo positions and checked that the title and footer stayed attached to the text block.
- I previewed Cover and Contain. Cover filled the image area but could remove edges; Contain preserved the whole photo and introduced space.
- I read the 9:16 preview at phone width and shortened the copy before export when the paragraph became visually dense.
Limits and unsuitable cases
Very large photos can use substantial memory, and a long entry may not fit every ratio even when it fits one preview. The tool also does not restore work across a different browser or device. If the image is sensitive, confirm your browser is trusted and avoid sharing the exported file through a service you do not control.